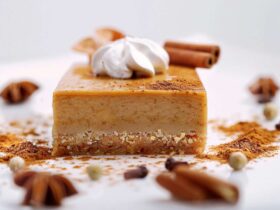
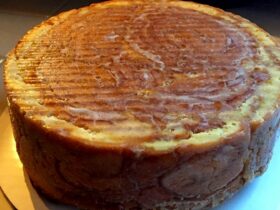
Feeling down and low? Add a whip of sweetness and happiness with these toothsome Cheesecake Almond Cone Recipe in your life.
Are you looking for a sweet and crispy dessert? Well, I have brought an incredible dessert recipe that is a combination of classic cones and modern cheesecake. And this combination of classic and modernity will blow your mind away.
With the crispy cones having the slices of almonds cracking in them, the cheesecake almond cones are filled with a smoothly textured vanilla-flavored cheesecake. This blend of crispy and smoothness makes the perfect taste when it is served chilled.
So, do not think much and try this recipe if you want some extra delight in your dessert.
How to Make Cheesecake Almond Cones Recipe?
To make Cheesecake Almond Cones, simple steps with not-so-fancy ingredients are needed. First, make the almond cones. In a bowl, mix the sugar, Flour, Salted softened butter, and corn syrup. Then slice the almonds and add in the batter. Mix everything until a dough is obtained. Roll the dough. Freeze until hard. Then cut it into equal pieces. Bake in the oven.
Meanwhile make the filling by mixing the salted butter, vanilla, cream cheese, and sugar. Fill the baked almond cones with this filling. Refrigerate and serve while cold. If you skip the freezing time, it takes about 50 minutes to make this recipe. A total of almost 2 hours are needed.
Ingredients for Cheesecake Almond Cone Recipe
For making Cheesecake Almond Cone Recipe, you need the following ingredients:
For Making Cones:
- Sugar = ⅓ cup
- Slightly crushed almond slices = ⅓ cup
- Flour = ⅓ cup
- Salted softened butter = ⅓ cup
- Light corn syrup = ⅓ cup
For Making Cheesecake Filling:
- Softened cream cheese = 1 cup (8 oz)
- Softened salted butter = 2 tbsp
- Sugar = ¾ cup
- vanilla = ½ tbsp
Step-by-Step Guide for Making Cheesecake Almond Cone Recipe
Follow this step-by-step guide to make Cheesecake Almond Cone Recipe:
For Making Cones:
Step 1
In a bowl, add sugar, corn syrup, flour, and softened salted butter. Mix them until they make a smooth textured mixture.
Step 2
Grind the almonds with the help of a blender so that they are small. Then add them to the smooth flour and butter mixture.
Step 3
First, mix them well and then roll them tightly. Then place in the freezer. Wait until the dough becomes hard.
Step 4
When the dough is hard enough, take it out of the freezer and slice it into equal sections. Roll them to make almond cones.
Step 5
Line the slices on a baking sheet and bake at 370 degrees Fahrenheit for 12-15 minutes or until they turn into a pleasant caramel color.
Step 6
Take the baked cookies out of the oven. Let them rest for a few minutes. Meanwhile, prepare the cheesecake filling.
For Making Cheesecake Filling:
Step 1
Take a bowl and add the vanilla, sugar, softened salted butter, and cream cheese to it.
Step 2
Mix them or whip them together until they are combined well and make a smooth and creamy mixture. The cheesecake filling is ready.
Assembly:
Step 1
Fill the piping bag with the cheesecake filling. Then fill this creamy cheesecake filling into the baked almond cones.
Step 2
When all the cones have been assembled, line them in a dish and refrigerate them long enough to let them settle.
Yummy cheesecake almond cones are ready. Serve chilled. Bon Appetit!
Recipe Tips and Variations
Here are some tips for your convenience:
- If you have made the almond cones a day or two ahead, do not fill them with cheesecake. Just fill them an hour or two before serving otherwise they will become soggy.
- Store the pre-made almond cones in an airtight container to maintain their crispiness.
- Before you put the cones in the oven for baking, pinch their ends from one side so that when you fill them, the filling will not leak out.
- For a stiffer filling, increase the cream cheese content but keep in mind that the filling also gets harder when refrigerated.
Closing
I hope you have enjoyed the recipe and will surely try this in your kitchen. The recipe is filled with sweetness, smoothness, and crispness and is an incomparable dessert as well as a sweet and creamy snack. So next time you are worried about the dessert or snack options, I just wish this recipe crosses your mind and you will enjoy it as much as I enjoy it!
More Delicious Recipes
- Little Caesars Cheesy Jalapeno Dip Recipe
- Texas Hot Dog Sauce Recipe
- Garlic Parmesan Chicken Pasta Recipe
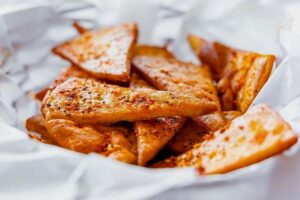

Olga’s Snackers Recipe
Ingredients
For The Olga Bread:
- 4 cups All-Purpose Unbleached Flour
- 1 cup Vitamin D Milk
- 4 tablespoons of Margarine
- 4 tablespoons of Honey
- 1/4 cup Warm Water
- 1 tablespoon of Rising Yeast
- 1 teaspoon Kosher Salt
- 1 tablespoon of Granulated Sugar
- 1 large Egg
- 1 tablespoon of Olive Oil
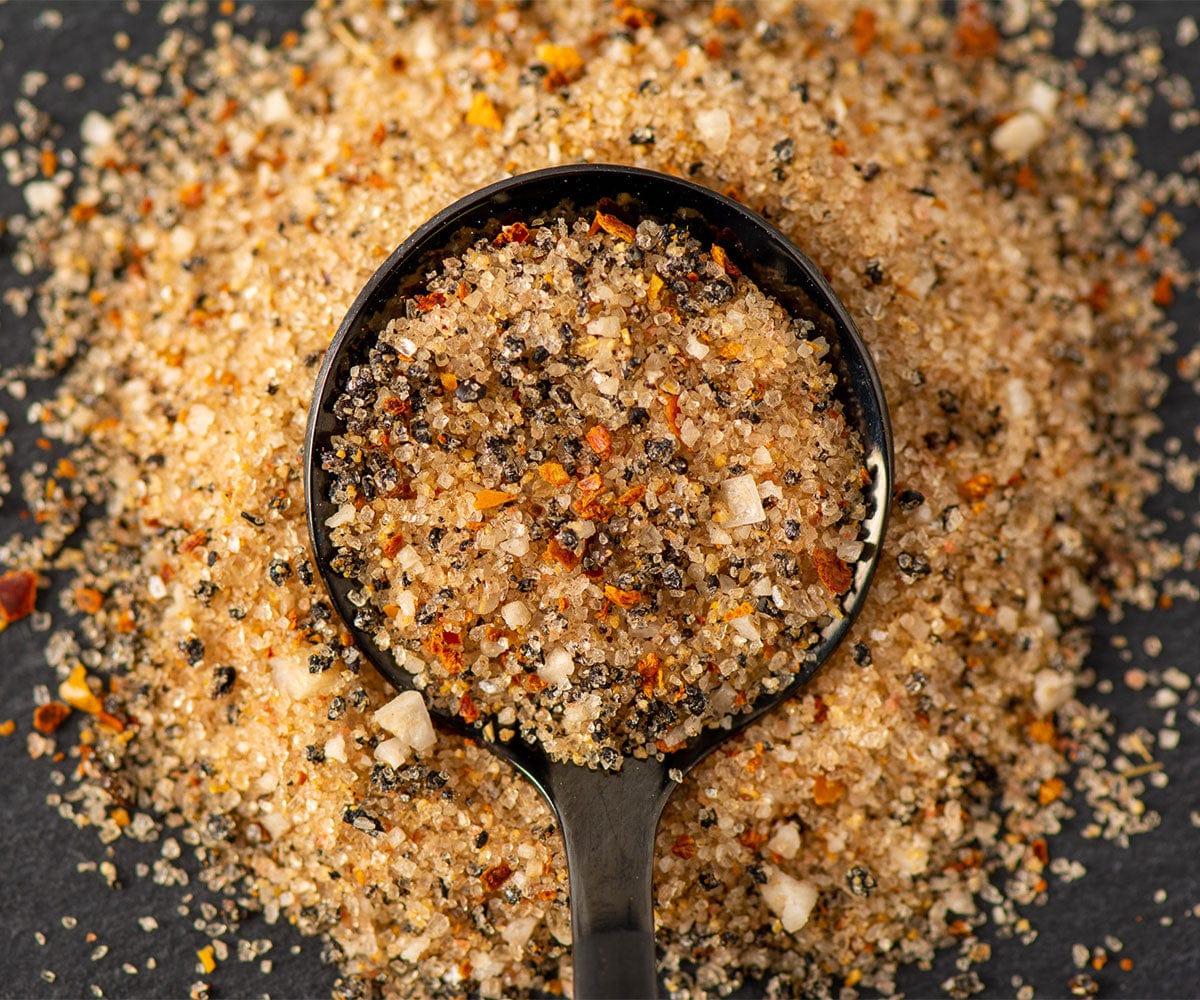
For The Olga’s Snackers Seasoning:
- 4 1/2 tablespoons sesame seeds
- 2 teaspoon salt
- 3 teaspoon paprika
- 1 1/2 teaspoon celery seeds
- 1 1/2 teaspoon poppy seeds
- 3/4 teaspoon coarse ground black pepper
- 3/4 teaspoon garlic powder
- 6 Tbsp Grated Milano’s Romano Cheese
- 3 dash cayenne pepper
Instructions
For The Olga Bread:
- Scald the milk in a small saucepan, then transfer it to a large mixing bowl. Mix the honey, margarine, and salt until the ingredients are fully combined. Set aside to cool until lukewarm.
- Combine yeast, warm water, and sugar in a separate bowl. Add the sugar and stir until it dissolves. The bubbles will begin to form.
- Add 1 1/2 cups of flour to the milk mixture and mix thoroughly. Whisk the yeast mixture and egg together until well combined.
- Slowly add the remaining flour until a sticky dough forms. Place the dough in an oiled bowl, rotating it once or twice until it is completely covered.
- Let the dough rise for approximately an hour in a warm area, covered with lids or plastic wrap.
- Transfer the dough to a floured surface. Cut the dough into 16 similar-sized pieces. Roll out each piece until it is approximately 8 to 10 inches in diameter using a tortilla press or rolling pin. It is recommended that they are no thicker than an eighth of an inch.
- Heat a large, dry skillet over medium-high heat without adding any oil or grease. Cook each circle of dough until brown spots appear on the surface, approximately 15 seconds per side.
For The Olga’s Snackers Seasoning:
- In a bowl, combine all ingredients and mix thoroughly.
For The Olga’s Snackers:
- Slice the bread into triangles and place it on a baking tray. Heat the oven to 350°F.
- Spray the bread triangles lightly with Olive Oil Non-stick Cooking Spray. Season with Olga's Snackers seasoning.
- Bake it in the oven. After 3-4 minutes, flip or rotate all pieces and toss them again.
- Continue to sprinkle Olga's snackers' seasoning after 3 or 4 minutes. I hope you enjoy your homemade Olga's Snacks.


