

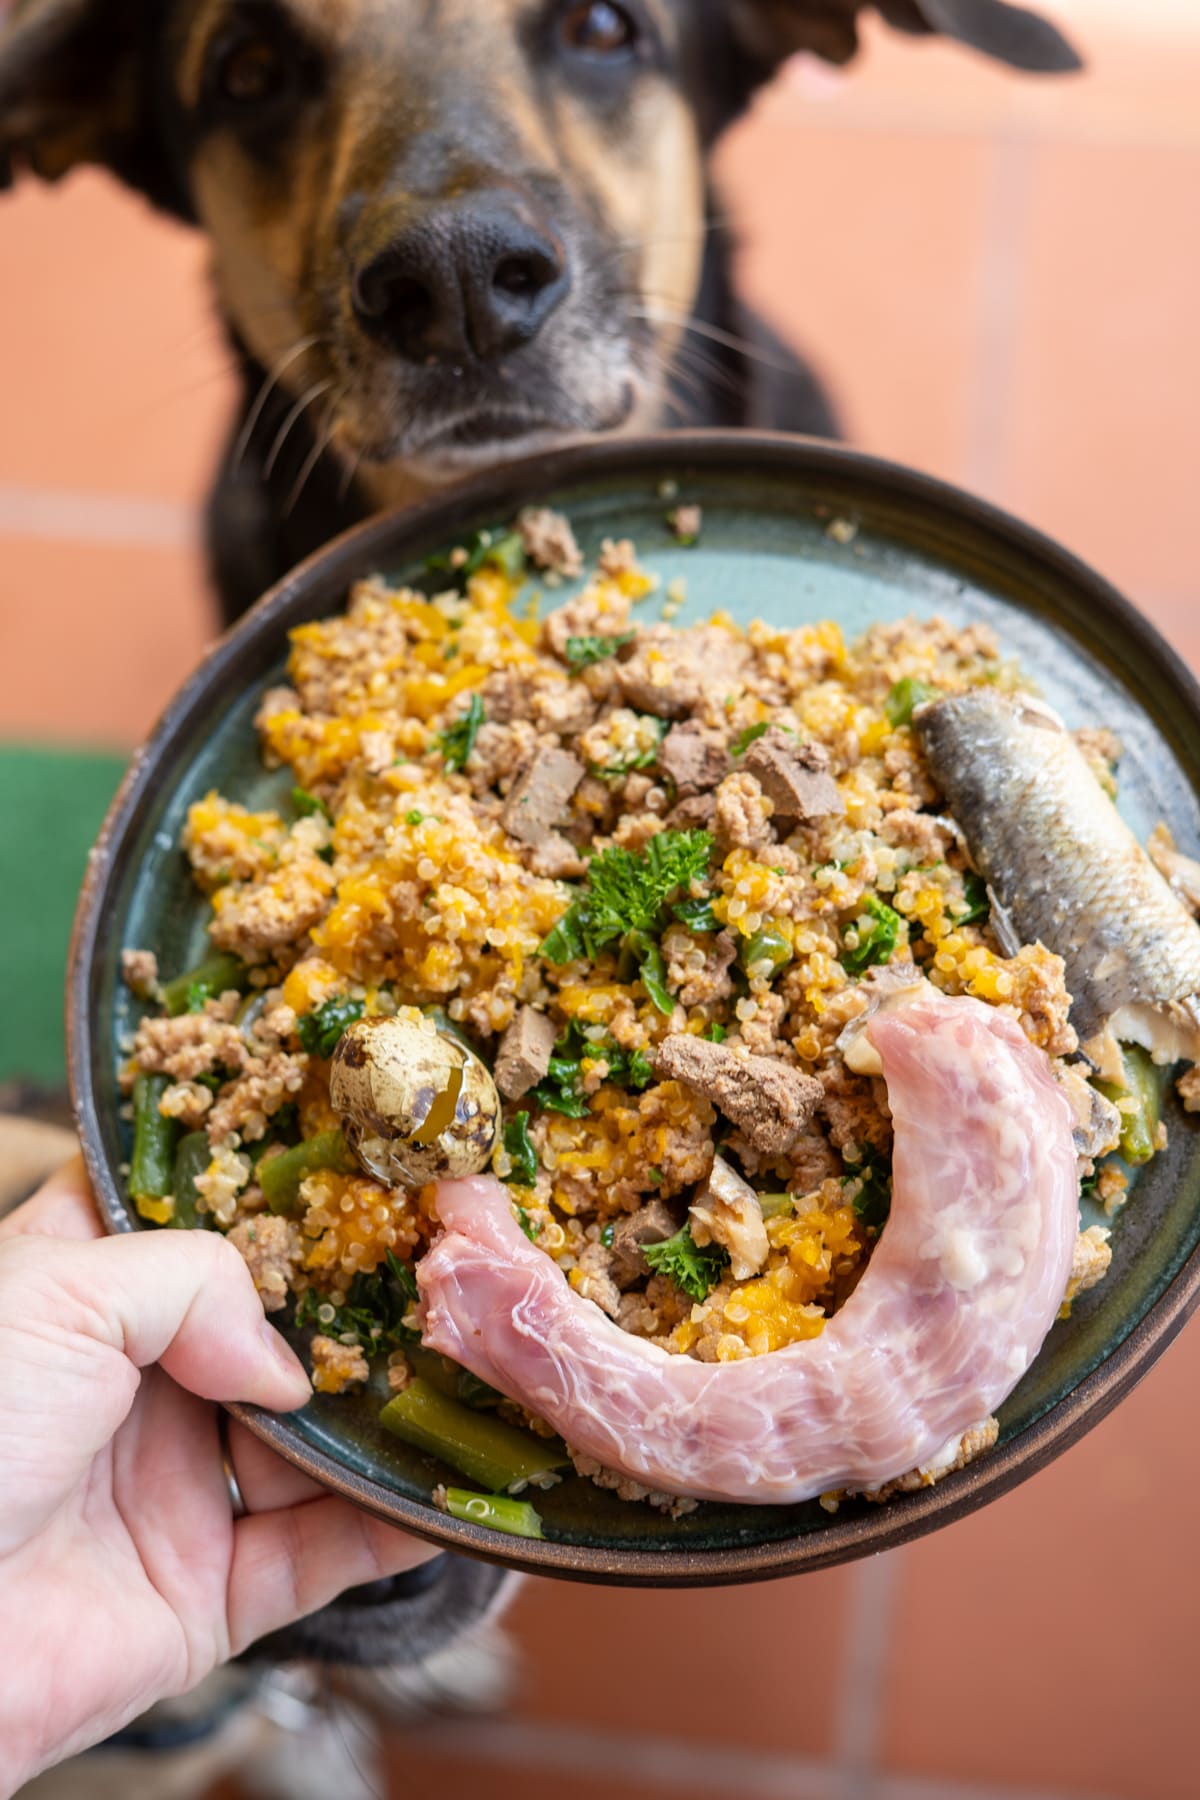
Sunday afternoons in our kitchen have a rhythm now. The sheet pans go in the oven with 4 pounds of cubed pumpkin and 1.5 pounds of carrots. The wide pot goes on the back burner with green beans and 3 cups of water. The big skillet — or the 12-quart stock pot if we’re doing a 3x batch — gets the ground turkey. By the time the first NFL game hits halftime, we have three labeled gallon freezer bags pressed flat in the freezer, a container of fresh food in the fridge, a tray of dehydrator chips running in the garage, and an ice cube tray of pumpkin topper cubes setting up. Three dogs, fed for 10 days. Done.
This post is for the operator-minded dog owner: someone who wants real numbers, a repeatable system, and zero vagueness about what goes in the bowl. We run a three-dog household — two medium dogs and one large-ish mutt who thinks she is very small — and we do this batch every 10 days or triple it once a month. Everything below is exactly what we do, including the portions, the scaling table, the topper cubes, and the dehydrator chips from the leftover pumpkin.
What came out of this last Sunday session: 30 cups of finished food (3 sleeves at 9 cups each, plus 3 cups straight into the fridge for Monday and Tuesday), two dehydrator trays of pumpkin chips, and 3 cups of mashed pumpkin frozen into 1-tablespoon cubes. No waste. Full system. Here’s exactly how we do it.
What One Batch Produces
Before we get into the how, here is the exact yield from one base batch so you know what you are working toward:
- 3 freezer sleeves — 9 cups each (gallon zip bags, pressed flat for stackable storage)
- 3 cups in the fridge — ready to serve immediately, good for 3 days
- Bonus dehydrator chips — 2 rounds from extra pumpkin (if you buy a little extra or have scraps), great as training treats
- Bonus topper cubes — 3 cups of mashed pumpkin frozen as 1-tablespoon cubes, popped onto kibble or homemade food for a fiber boost
Total active time: about 25 minutes of prep. Total cook time: about 45 minutes (most of it hands-off while the oven and steamer do their work). The whole session is 70 minutes start to finish.
Why These Ingredients
Ground turkey (85/15 or leaner): Lean ground turkey is an excellent base protein for homemade dog food. It is easy to brown in bulk, drains well, and most dogs digest it readily. We use 85/15 or leaner; anything fattier than that tips the fat content up more than we like for daily feeding. If you want to swap in chicken thigh, it works well — just drain the fat before you combine it with the vegetables.
Pumpkin: Pumpkin is here for fiber — not as a probiotic, not as a superfood, just reliable dietary fiber that supports healthy digestion. That is exactly what it does, and it does it well. One guardrail you should not skip: keep pumpkin at or under about 25% of the batch by weight. At 4 pounds of pumpkin in a batch that runs roughly 17–18 pounds of combined ingredients, we are right in that zone. Push past 25% and you will likely see loose stools within a day or two.
Carrots: Roasted carrots bring natural sweetness, beta-carotene, and a soft texture that mashes right into the batch. They hold up well in the freezer without getting watery. We roast them alongside the pumpkin on the same sheet pan to keep the process simple.
Green beans: Steamed green beans add bulk, some plant-based fiber, and a texture dogs seem to enjoy. We use fresh or frozen (thawed) — either works. They go in the steaming pot while the oven is running, so the timing lines up cleanly.
No salt, oil, onion, garlic, or spices. Ever. These are non-negotiable omissions. See the Cautions section below for the full list of what stays out of the pot.
The Sleeve System: Portioning, Labeling, and Thawing
The “sleeve” is just a gallon zip freezer bag filled with 9 cups of food, sealed with as much air pressed out as possible, and laid flat to freeze. Once frozen, the bags stack like books in the freezer — or stand upright in a bin. Either way, they take up far less space than rigid containers.
How to portion: Use a wide-mouth measuring cup or a disher scoop. After the batch has cooled completely (this matters — do not bag warm food), measure 9 cups into each of three bags and 3 cups into a fridge container. Label each bag with the date and “use within 3 days of thawing.”
How to thaw: Move a sleeve from the freezer to the fridge 24 hours before you need it. Do not thaw on the counter or in hot water. Once thawed, the 3-day clock starts immediately. We thaw one sleeve every three days, which keeps the rotation tight and nothing goes to waste.
Storage rule, written out plainly: Thaw in the fridge 24 hr ahead. Use within 3 days of thawing. Frozen up to 3 months.
Labeling tip: Write the freeze date AND the thaw date on a strip of painter’s tape on the front of the bag. When you pull it from the freezer and move it to the fridge, flip the tape over and write the thaw date. You will never wonder “when did I thaw this?” again.
Topper Cubes: Pumpkin Fiber on Demand
If you roast a little extra pumpkin (or if your batch runs slightly over), set aside 3 cups of the mashed roasted pumpkin before it goes into the main mix. Spoon it into a standard ice cube tray in 1-tablespoon portions, freeze until solid, then pop the cubes into a labeled zip bag.
These topper cubes go directly on top of a bowl — homemade food or kibble — straight from the freezer. They thaw in about 5 minutes at room temperature or you can stir them in cold. Each cube is a measured tablespoon of fiber-rich pumpkin, which is especially handy if one of your dogs is having a digestive rough patch. Keep them in the freezer for up to 3 months alongside the food sleeves.
Dehydrator Chips: Zero-Waste Training Treats
Extra pumpkin — the pieces that did not make it into the mash, or a second pumpkin you bought with this in mind — becomes dehydrator chips. These are single-ingredient, shelf-stable training treats your dogs will work for.
Method:
- Blanch pumpkin pieces in boiling water for 3 minutes, then transfer immediately to an ice bath to stop cooking.
- Slice to 1/4 inch thickness. Uniform thickness matters for even drying.
- Arrange in a single layer on dehydrator trays.
- Dehydrate at 135°F for 8–12 hours, checking at the 8-hour mark. Chips are done when they are leathery and bend without snapping, or fully crisp if you prefer a crunchy treat.
- Cool completely before storing in an airtight container at room temperature for up to 2 weeks, or freeze for up to 3 months.
No added anything — no salt, no oil, no seasoning. Just pumpkin, dehydrated.
Scaling for a Month
We run two scales only. Here is what each produces:
| Scale | Turkey | Pumpkin | Carrots | Green Beans | Water (steam) | Yield | Days Supply* |
|---|---|---|---|---|---|---|---|
| 1x | 10 lb | 4 lb | 1.5 lb | 1.5 lb | 3 cups | 3 sleeves + 3 cups fridge | ~10 days |
| 3x | 30 lb | 12 lb | 4.5 lb | 4.5 lb | 9 cups | 9 sleeves + 3 days fridge | ~30 days |
*Based on 3 cups/day for 3 dogs at 2 meals/day, 1/2 cup per dog per meal.
For the 3x batch, you will want a 12-quart or larger stock pot (or two large pots), two full sheet pans running in the oven simultaneously, and about 90 minutes of active kitchen time. The payoff: one prep session per month instead of every 10 days.
Half-and-Half With Kibble — or a Balancer at 50%+
This recipe is formulated as a whole-food topper and meal component, not as a standalone 100%-complete diet. Here is how to use it responsibly depending on how much of the bowl it fills:
Up to ~25% of the bowl (topper approach): Fill the bowl mostly with a nutritionally complete kibble, and add a scoop of this homemade food on top — roughly 1/4 of the meal’s volume. At this ratio, the kibble is doing the heavy nutritional lifting and the homemade food adds real-food variety and palatability. No balancer needed at this level, but always a good idea to loop in your vet.
50% or more homemade: If you want to go half homemade or higher — or fully homemade — this recipe on its own is not nutritionally complete for all life stages. At 50%+ homemade, add a complete-nutrition balancer formulated for homemade dog food. BalanceIT (balanceit.com) is a vet-developed option that lets you match a balancer to your protein source and your dog’s weight and life stage. Follow the balancer manufacturer’s instructions exactly.
Talk to your vet. This is not a throwaway line. Your vet knows your dogs’ health history, weight targets, and any dietary restrictions. A single conversation before you shift the ratio significantly is worth more than any blog post.
Cautions: What Stays Out of the Pot
Homemade dog food is straightforward when you follow the ingredient list. It gets dangerous when people start improvising with pantry staples that are toxic to dogs. Here is the firm no-list for this recipe:
- No salt — dogs do not need added sodium and excess salt causes serious problems
- No oil — the turkey renders enough fat on its own; added oil tips the fat content
- No onion or garlic — both are toxic to dogs in any form (raw, cooked, powdered)
- No spices or seasonings of any kind
- No raisins, grapes, or xylitol — these are acutely toxic to dogs
Weigh your dogs weekly when you introduce or adjust homemade food. It is the fastest feedback loop you have. If a dog is losing weight, the portions need to go up (or the kibble ratio needs adjusting). If weight is creeping up, pull back.
First 2–3 days on a new food: loose stool or softer-than-usual stools are a normal gut adjustment response. If it persists past day 3 or is accompanied by vomiting, lethargy, or blood, stop and call your vet.
Keep pumpkin at or under ~25% of the batch by weight. At 4 lb pumpkin in this 1x batch, you are right at the guardrail. Do not increase the pumpkin without increasing the other ingredients proportionally — too much fiber too fast is the most common reason homemade batches cause loose stools.
Frequently Asked Questions
How much pumpkin is too much?
Aim to keep pumpkin at or under about 25% of the batch by weight. In this 1x recipe, 4 pounds of pumpkin sits right at that threshold relative to the full batch weight. If you scale up pumpkin without scaling up everything else, you will likely see loose stools within a day or two — not dangerous, but a clear sign you have pushed the fiber too far. The topper cubes (1 tbsp per meal) are a smarter way to add extra pumpkin fiber without disrupting the main batch ratio.
Can I swap chicken thigh for the ground turkey?
Yes — boneless, skinless chicken thigh works well as a substitute. Brown it thoroughly, then drain the fat before combining with the vegetables. The texture and consistency of the finished batch will be slightly different from turkey, but your dogs will almost certainly not complain. If you are using bone-in thighs, debone completely before mixing in; no cooked bones in the batch, ever.
Do I have to run all three cooking paths separately?
Yes, and it is worth understanding why. The turkey, pumpkin-and-carrots, and green beans all have different ideal cooking methods and times. Roasting the pumpkin and carrots at 400°F for ~40 minutes gives you caramelization and a dry, mashable texture. Steaming the green beans keeps them from turning to mush. Browning and draining the turkey separately lets you control the fat content. If you combine them before they are individually cooked, you end up with either underdone turkey or overcooked vegetables — or both. The three-path approach is what makes this batch taste good and store well.
Go Make Your Batch
That is the full system: five ingredients, three cooking paths, 70 minutes, 10 days of meals. The sleeve method keeps your freezer organized, the topper cubes give you a fiber boost on demand, and the dehydrator chips mean nothing gets wasted. Once you run this batch two or three times it becomes muscle memory — you will start the oven, get the turkey going, and have three labeled bags in the freezer before you even think about it.
As always: weigh your dogs, watch their stool quality in the first few days, talk to your vet before making big changes to the ratio of homemade-to-kibble, and keep pumpkin in its lane at or under 25% of the batch. Everything else is just prep.
Find the complete recipe card below ↓
]]>Bulk Homemade Turkey & Pumpkin Dog Food
Equipment
- 12-qt or larger stock pot
- 2 rimmed sheet pans
- Wide steaming pot or saucepan
- 3 gallon-sized freezer zip bags
- 1 airtight fridge container (for 3-cup immediate portion)
- Dehydrator (optional, for pumpkin chips)
- Ice cube tray (optional, for topper cubes)
Ingredients
For the Batch
- 10 lb ground turkey (85/15 or leaner), browned and drained
- 4 lb peeled pumpkin, cut into 1-inch cubes, roasted at 400°F ~40 min, then mashed
- 1.5 lb carrots, roasted alongside the pumpkin on the same sheet pan
- 1.5 lb green beans, fresh or thawed frozen, steamed
- 3 cups water (for steaming green beans) No salt, oil, onion, garlic, or spices — ever

Instructions
- Preheat oven to 400°F. Peel and cube 4 lb pumpkin into 1-inch pieces. Cut 1.5 lb carrots into similar-sized pieces. Spread pumpkin and carrots in a single layer across two sheet pans. Roast at 400°F for approximately 40 minutes, until fork-tender and lightly caramelized at the edges. Remove from oven and mash the pumpkin thoroughly; leave carrots in soft chunks or mash lightly.
- While the oven runs, place 1.5 lb green beans and 3 cups of water into a wide steaming pot or saucepan. Steam or simmer over medium heat for 8–10 minutes until tender but not mushy. Drain and set aside.
- In a 12-quart or larger stock pot (or a large skillet in batches), brown 10 lb ground turkey over medium-high heat, breaking it up as it cooks. Drain off any excess rendered fat. No salt, oil, or seasoning.
- Add the mashed pumpkin, roasted carrots, and steamed green beans to the pot with the cooked turkey. Stir everything together until evenly combined. The mix should be moist but not wet — the pumpkin acts as the binder.
- Spread the combined batch across sheet pans or transfer to a large shallow container and allow to cool completely to room temperature. Do not portion into bags while the food is still warm.
- Once fully cooled, measure 9 cups of food into each of three gallon-sized freezer zip bags. Measure 3 cups into a fridge-safe airtight container for immediate use. Label each freezer bag with the batch date and the note: 'Thaw in fridge 24 hr ahead — use within 3 days of thawing.'
- Press each freezer bag flat, squeezing out as much air as possible before sealing. Lay bags flat on a sheet pan and place in the freezer until solid. Once frozen, bags can be stacked upright or flat. Frozen food keeps for up to 3 months.
- If making topper cubes: set aside 3 cups of mashed pumpkin (before combining with the main batch) and spoon into an ice cube tray in 1-tablespoon portions. Freeze until solid, then transfer cubes to a labeled zip bag. Keeps frozen up to 3 months. For dehydrator chips: blanch extra pumpkin slices in boiling water for 3 minutes, slice to 1/4-inch thickness, and dehydrate at 135°F for 8–12 hours.