
There are desserts that taste good, and then there are desserts that feel like a hug from someone who has loved you your whole life. Banana pudding is absolutely the latter. It’s the kind of dish that shows up at church potlucks, Sunday family dinners, and Fourth of July gatherings — layered in a wide glass bowl, usually wrapped in plastic wrap, always the first thing to disappear. It doesn’t need a fancy presentation. It doesn’t need a garnish or a drizzle. It just needs time to chill in the fridge, and the moment you dig that big spoon through the whipped cream topping and pull up a scoop filled with softened vanilla wafers, silky banana-flecked custard, and sweet ripe fruit, you understand exactly why this recipe has been passed down for generations across the American South.
What makes a great banana pudding isn’t a secret ingredient or a clever shortcut — it’s patience and layering. The magic happens overnight, when the vanilla wafers slowly absorb the pudding, becoming soft and almost cake-like, transforming the whole dish into something deeply unified rather than just a collection of components. From a wellness standpoint, this is one of those desserts we call a worth-it moment — a treat made with real, recognizable ingredients like ripe bananas, whole milk, eggs, and real vanilla that you can feel good about serving your family. It’s indulgent, yes, but it’s also honest food. No artificial colors, no mystery stabilizers, and bananas bring genuine nutritional value to every single layer.
At Eating Happiness, we believe that joyful eating and mindful eating aren’t opposites. Sometimes the healthiest thing you can do is slow down, share something delicious with the people you love, and savor every bite of a dessert that has earned its place at the table. This from-scratch banana pudding recipe honors the Southern classic it’s always been — creamy, nostalgic, banana-forward, and deeply satisfying. Whether you’re making it for a summer cookout or a cozy weekend treat, this is the recipe you’ll come back to every single time.
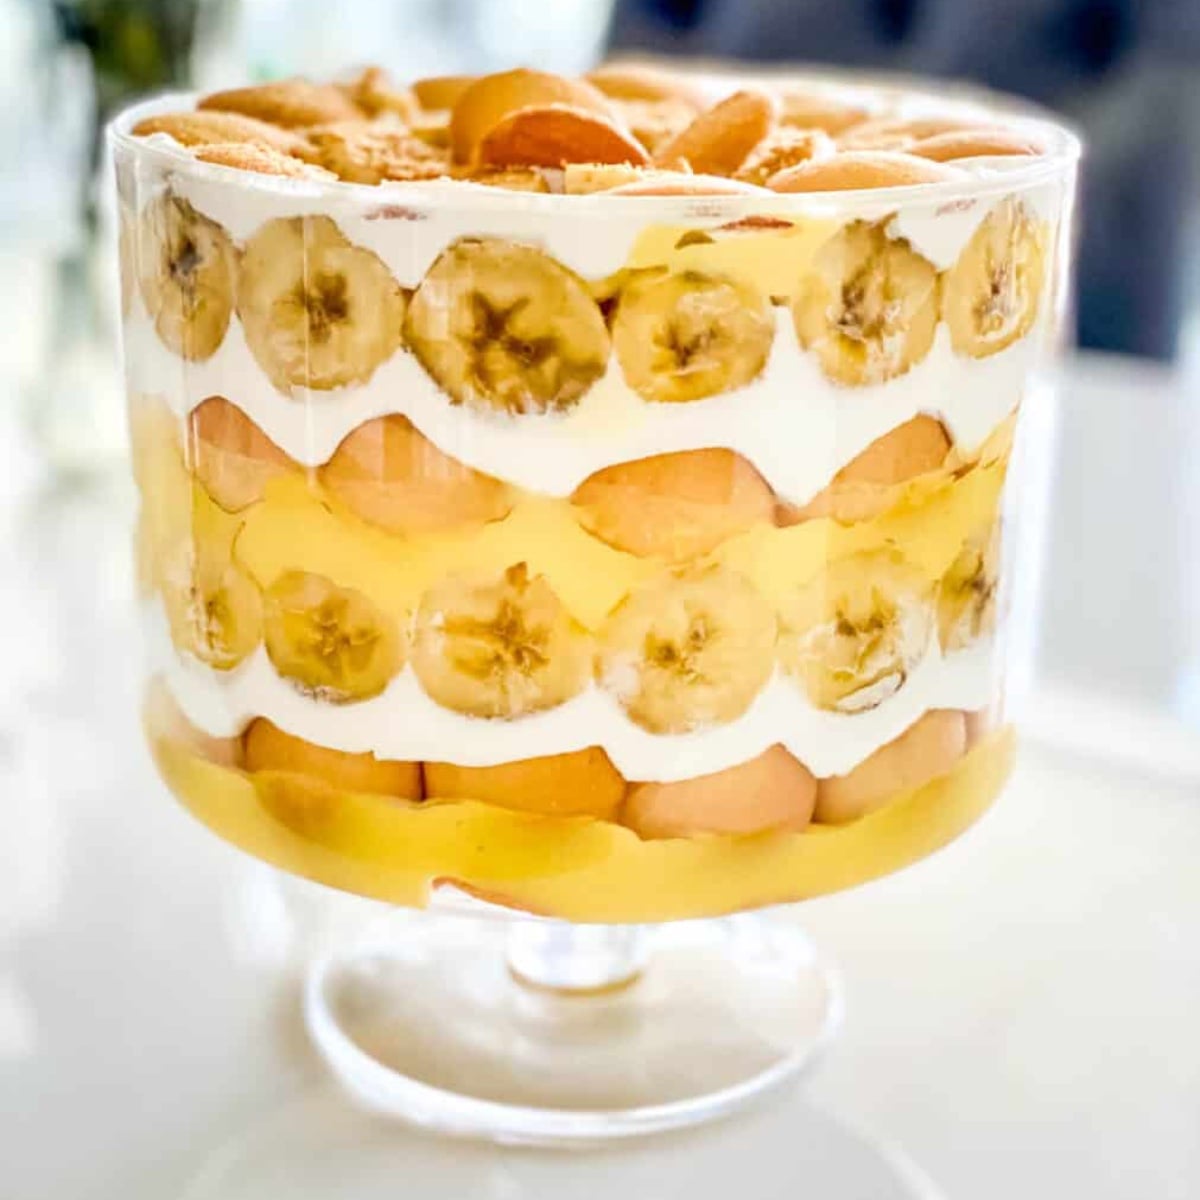
Why You’ll Love This Banana Pudding Recipe
- Made completely from scratch — real homemade custard with no instant pudding packets means deeper, richer flavor and cleaner ingredients you can pronounce.
- Naturally sweetened with ripe bananas — the riper your bananas, the less you have to lean on added sugar for sweetness, making every layer work harder for you.
- A genuine crowd-pleaser — this recipe scales easily and is universally adored by kids and adults alike. Take it to any gathering and watch it vanish.
- Better the next day — unlike most desserts, banana pudding actually improves overnight as the layers meld together. It’s the ultimate make-ahead dessert.
- Flexible and forgiving — swap in dairy-free milk, use coconut whipped cream, or add a layer of caramel drizzle. This recipe welcomes creativity.
- Real comfort food with real ingredients — no artificial flavors, no mystery additives. Just eggs, milk, sugar, vanilla, bananas, and wafers doing what they do best.
Key Ingredients for the Best Banana Pudding
The beauty of banana pudding is that it relies on a short list of humble, honest ingredients — and every single one of them pulls serious weight. Start with your bananas, and don’t skimp on ripeness. You want bananas with brown speckles on the peel, because that’s when they’re at their sweetest, most fragrant, and most nutrient-dense. Ripe bananas are higher in antioxidants and easier to digest, and they contribute natural sugars that let you pull back on added sweeteners in the custard. Next comes whole milk, which forms the backbone of the homemade custard. Whole milk gives the pudding that rich, velvety body that skim milk simply cannot replicate — the fat carries flavor and creates the silky texture that makes this dessert so memorable. If you’re looking for a dairy-free version, full-fat oat milk or coconut milk are wonderful substitutes that maintain that creaminess beautifully.
The custard gets its structure and gorgeous golden color from egg yolks, which are packed with vitamins A, D, E, and K, as well as choline — an often-overlooked nutrient that supports brain health. Real pure vanilla extract (not imitation) makes an enormous difference here; it infuses the custard with warm, floral depth that ties the whole dessert together. As Serious Eats explores in their deep dive on banana pudding science, the quality of your vanilla and the proper tempering of your eggs are what separate a good pudding from a truly transcendent one. And then there are the vanilla wafers — the iconic Southern soul of this dessert. They start crisp and buttery, but after a night in the fridge, they transform into something almost cake-like, soaking up the custard and becoming pillowy and luscious. Finally, freshly whipped heavy cream crowns the whole dish with cloud-like lightness that balances the richness of the custard below. Together, these ingredients create something far greater than the sum of their parts.
Pro Tips & Variations for Perfect Banana Pudding
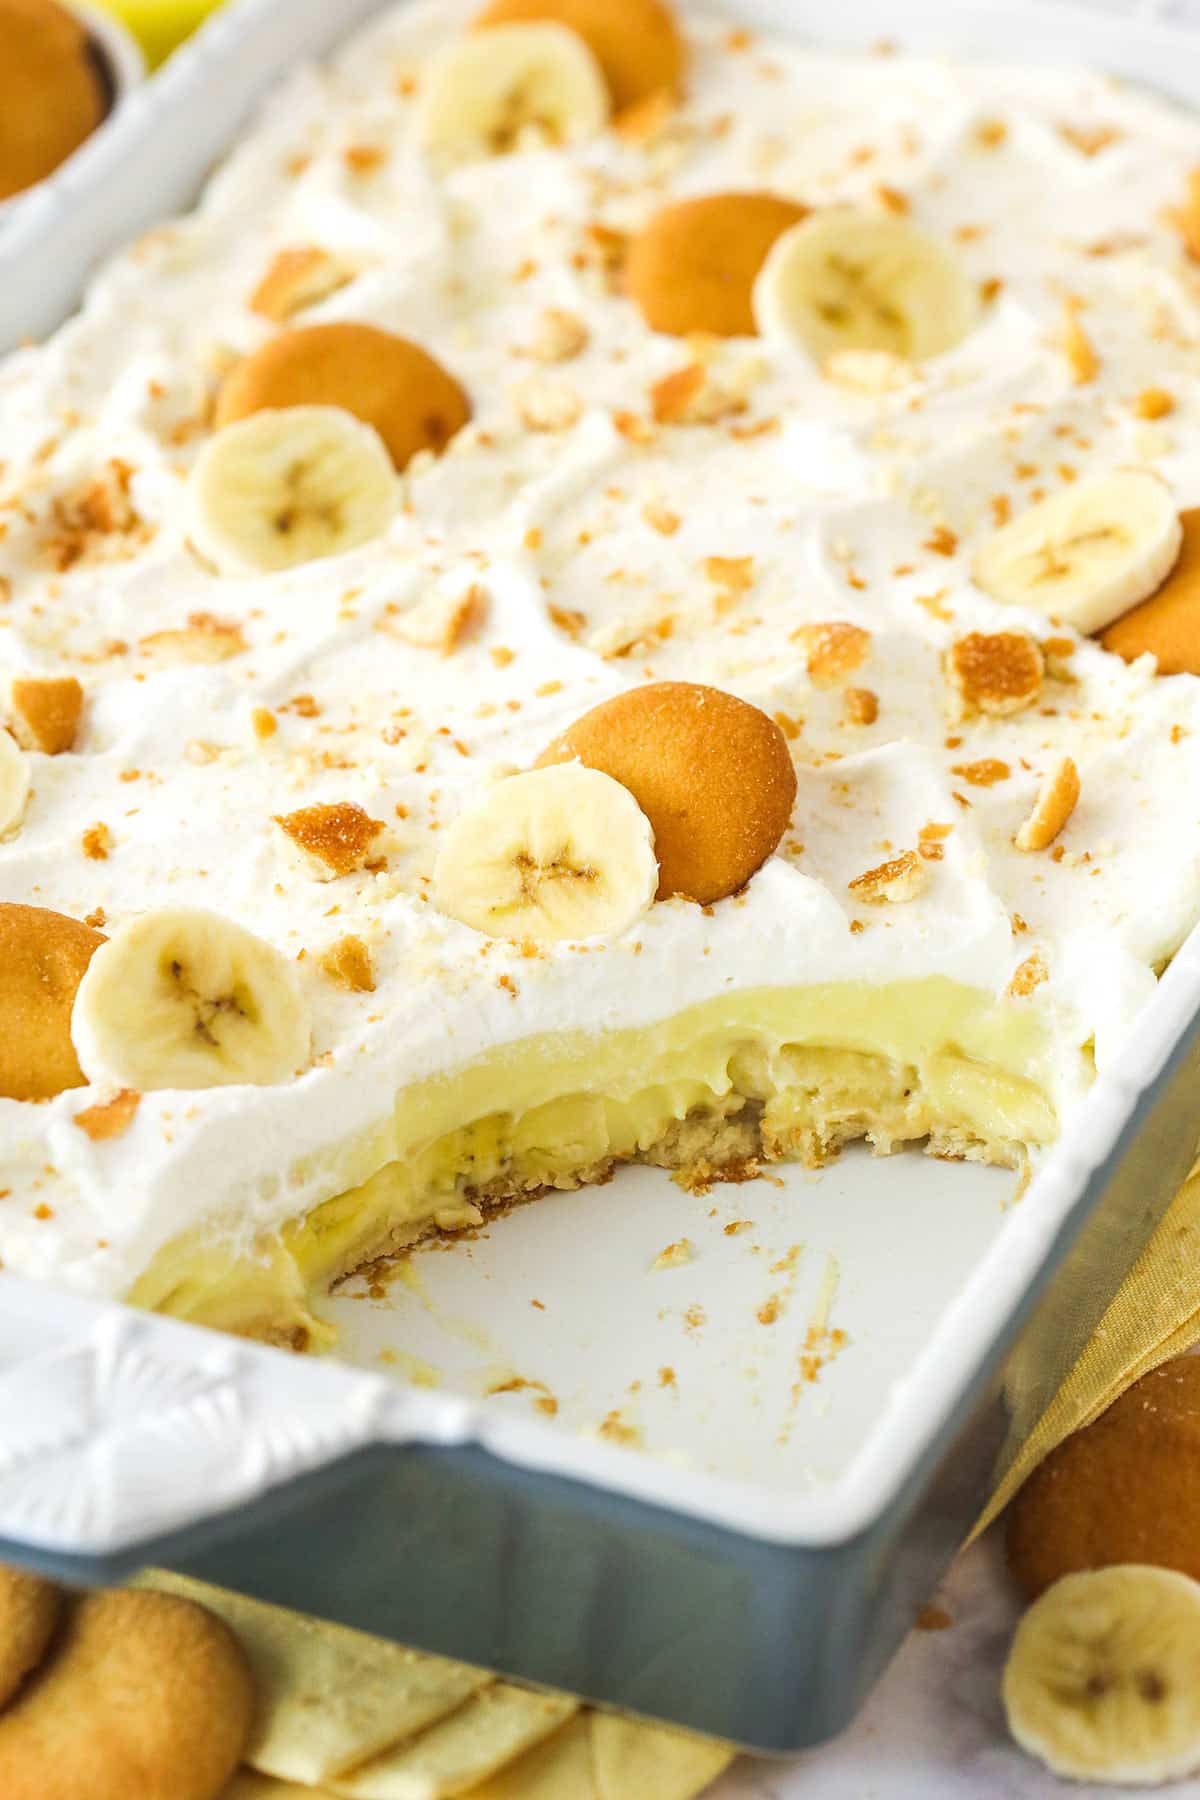
Making banana pudding from scratch is straightforward, but a few smart techniques will take yours from good to absolutely unforgettable. Keep these tips in your back pocket every time you make it:
Temper Your Eggs Carefully
The most important technique in homemade pudding is tempering — slowly adding hot milk to beaten egg yolks before combining them with the rest of the custard mixture. This prevents the eggs from scrambling and gives you that perfectly smooth, lump-free pudding. Add the hot milk one ladle at a time, whisking constantly, and you’ll never have a broken custard.
Use Very Ripe Bananas
Repeat after us: the spottier the banana, the better the pudding. Bananas with brown spots are sweeter, softer, and more aromatic — they’ll perfume every layer of the dish in a way that underripe bananas simply can’t. Save the bright yellow bananas for snacking and reach for the ones that are almost too ripe to eat on their own.
Let It Rest Overnight
We know the hardest part of making banana pudding is waiting. But please, give it at least 4 hours in the fridge — and ideally overnight. This resting period is where the transformation happens. The wafers soften, the custard firms up, the banana flavor deepens, and the whole dish becomes one cohesive, magnificent thing instead of separate layers. Good things really do come to those who wait.
Brush Banana Slices with Lemon Juice
To keep your banana slices from browning prematurely, give them a quick brush or toss with fresh lemon juice before layering. The citric acid slows oxidation without adding any noticeable lemon flavor to the finished pudding. This is especially helpful if you’re making the dish a day ahead.
Variations Worth Trying
- Salted Caramel Banana Pudding: Drizzle a thin layer of salted caramel sauce between each pudding layer for a deeply indulgent twist.
- Dairy-Free Version: Substitute full-fat coconut milk for the whole milk and use coconut whipped cream on top. The subtle coconut flavor pairs beautifully with bananas.
- Chocolate-Banana Pudding: Add a thin layer of chocolate ganache between the custard and wafer layers for a banana-chocolate layered dream.
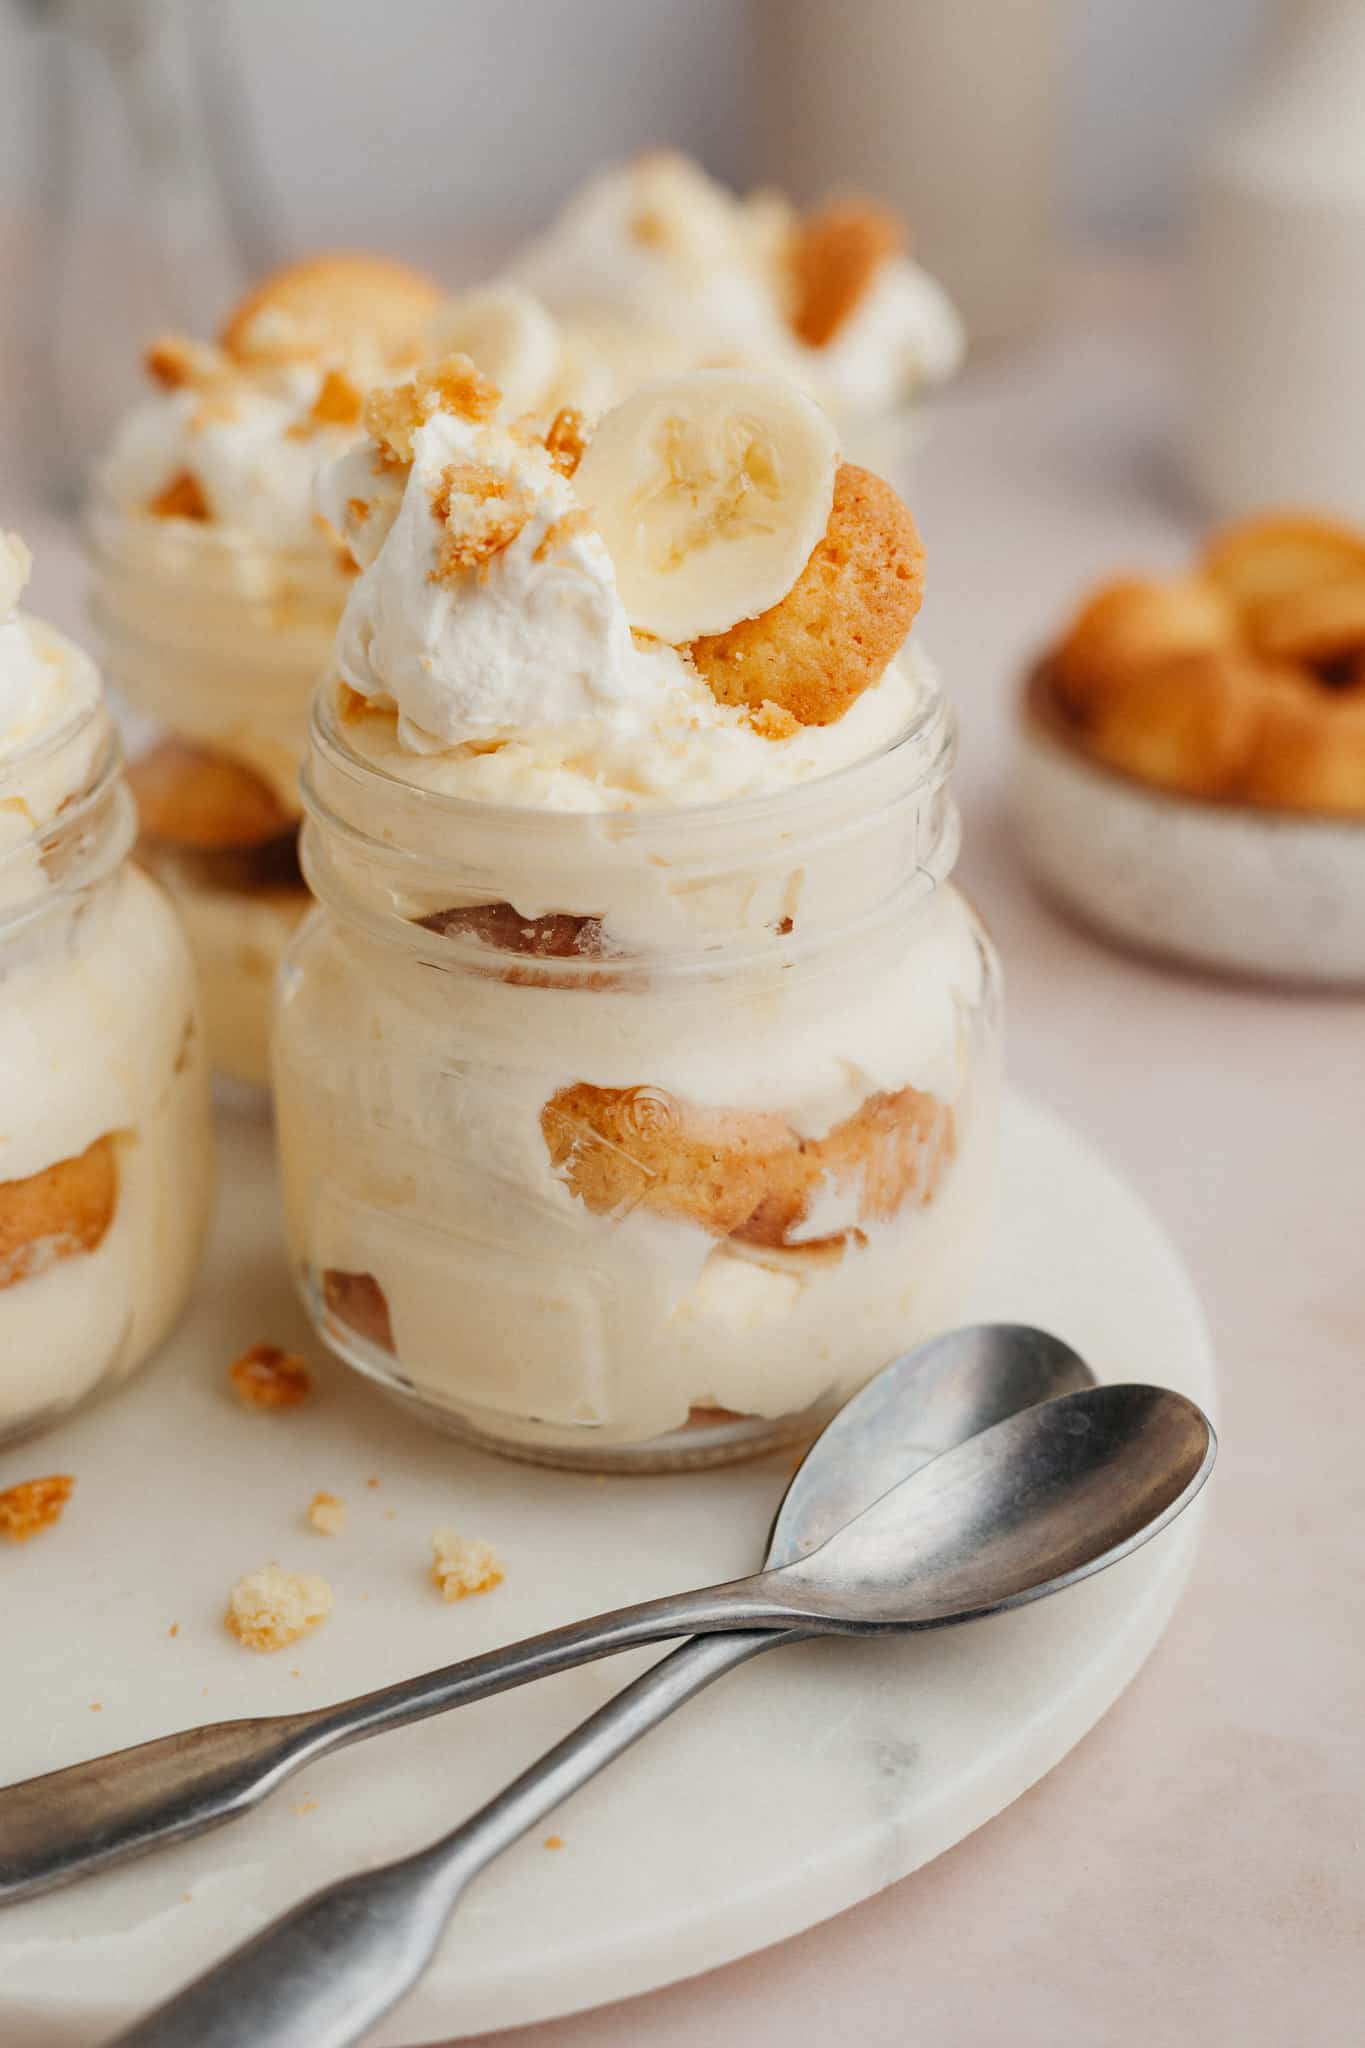
- Individual Serving Jars: Layer into mason jars for a portable, perfectly portioned option that’s ideal for parties and picnics — no serving spoon required.
- Brûléed Banana Topping: Slice bananas, sprinkle with sugar, and torch them crème brûlée-style before placing on top of the whipped cream for a stunning caramelized finish.
If you love summer desserts that require zero oven time and deliver maximum satisfaction, you’ll also want to check out our No Bake Cheesecake — Cool, Creamy, Fridge-Set Dessert Worth Every Bite, which follows a similar make-ahead philosophy and is just as crowd-pleasing. And for another classic Southern-inspired dessert that celebrates simple, quality ingredients, our Key Lime Pie — Tangy Graham Crust Florida Classic belongs in your summer rotation without question.
For more inspiration on building a well-rounded summer dessert spread, Food Network’s roundup of banana desserts is a fantastic rabbit hole if you find yourself with an overripe bunch and a creative itch.
If you’re planning a summer cookout spread around this pudding, we’ve got you covered on the savory side too. Our Grilled Corn on the Cob — Charred Butter Parmesan Elote Style and Stuffed Bell Peppers with Ground Beef, Rice & Cheese make for a full, satisfying menu that ends with this gorgeous pudding as the grand finale.
Nutritional Highlights
Banana pudding is an indulgent dessert, and we celebrate it as such — but there’s more nutritional goodness hiding in those layers than you might expect. Bananas are one of nature’s most nutrient-dense fruits, delivering potassium for heart health and muscle function, vitamin B6 for brain health and mood regulation, vitamin C for immune support, and dietary fiber for digestive wellness. A medium banana also provides a steady source of natural energy without the blood sugar spike that comes from processed sweets. The egg yolks in the homemade custard contribute fat-soluble vitamins A, D, E, and K, along with choline, which supports cognitive function. Whole milk adds calcium and protein to the mix. Is this a low-calorie dessert? No — and it doesn’t pretend to be. But when you’re eating real, whole ingredients with genuine nutritional value baked in, an occasional generous serving is something to feel genuinely good about. If you’re keeping an eye on your sugar intake, you can reduce the added sugar in the custard by up to 25% when using very ripe bananas, since they contribute significant natural sweetness. For lighter summer fruit-forward frozen treats in your repertoire, our Mixed Berry Popsicles — Real Fruit Frozen Treats and Watermelon Sorbet are wonderful lower-calorie options to balance out your dessert rotation.
Frequently Asked Questions
Can I make banana pudding ahead of time?
Absolutely — and we strongly encourage it. Banana pudding is one of those rare desserts that genuinely improves with time. After assembling all the layers, cover the dish tightly with plastic wrap and refrigerate for a minimum of 4 hours, though overnight is truly ideal. During this resting period, the vanilla wafers absorb the custard and soften to a cake-like texture, the banana flavor deepens and permeates every layer, and the whole dish becomes beautifully unified. If you’re making it for a party or gathering, assembling it the night before actually takes the stress off your day-of prep entirely. The one caveat: add the whipped cream topping on the day of serving rather than the night before, as freshly whipped cream holds its texture and visual appeal best when applied closer to serving time. You can store assembled banana pudding (without the whipped cream topping) in the refrigerator for up to 48 hours before serving.
Can I use instant pudding mix instead of homemade custard?
You can, and we won’t judge you — sometimes life calls for a 15-minute dessert and Jell-O vanilla pudding mix will absolutely get the job done. However, the from-scratch custard in this recipe is genuinely on another level: richer, silkier, more complex in flavor, and made with ingredients you can feel good about. The homemade version requires tempering egg yolks into hot milk and cooking the custard on the stovetop until thick, which takes about 15 extra minutes but rewards you with a dessert that tastes infinitely more special. If you do opt for instant pudding, use the cook-and-serve variety rather than the instant version when possible, as it produces a firmer, more authentic custard texture. Use whole milk instead of the 2% or skim the package suggests, and add a teaspoon of real vanilla extract to elevate the flavor significantly. But truly — try the homemade custard at least once. It’s a kitchen skill worth having, and the difference in the final dessert is remarkable.
How do I store leftover banana pudding and how long does it keep?
Leftover banana pudding should be covered tightly with plastic wrap or transferred to an airtight container and stored in the refrigerator. It will keep well for up to 3 days, though it’s best enjoyed within the first 2 days when the bananas are still at their freshest and the wafers haven’t become overly mushy. After day 2, the banana slices may begin to darken slightly and the wafers will become very soft — still delicious, but with a different texture. To slow banana browning, make sure your banana slices were tossed in lemon juice before assembly. Banana pudding does not freeze well — the custard breaks and the bananas turn black and watery upon thawing, so freezing is not recommended. If you’re worried about making too much, this recipe can be halved easily and assembled in an 8×8 dish or individual serving cups for perfectly portioned servings with minimal waste.
Make It, Share It, Save It
This banana pudding is the kind of recipe that deserves to live on your kitchen counter, your family’s table, and your social media feed. Every time we share a dish like this — honest, layered, made with real ingredients and genuine love — we’re carrying forward a tradition that deserves to keep going. If you make this recipe, we’d love to see your layers! Tag us on Instagram, leave a comment below telling us how it turned out, and save this post to your Pinterest boards so you can find it again next time a craving (or a potluck) strikes. Sharing recipes is one of the most generous things you can do, and we’re so glad you’re here cooking with us at Eating Happiness.
Find the complete recipe card below ↓
Banana Pudding
A from-scratch Southern classic layered with silky homemade vanilla custard, fresh ripe banana slices, softened vanilla wafers, and billowy whipped cream. Better overnight and always the first to disappear.
Ingredients
- 3/4 cup granulated sugar
- 1/3 cup all-purpose flour
- 1/4 tsp fine sea salt
- 3 cups whole milk (do not substitute skim)
- 4 large egg yolks (room temperature)
- 2 tbsp unsalted butter (cut into cubes)
- 2 tsp pure vanilla extract (not imitation)
- 1 11-oz box vanilla wafers (such as Nilla Wafers)
- 4 ripe medium bananas (sliced 1/4-inch thick, brown-spotted preferred)
- 1 tbsp fresh lemon juice (to toss with banana slices to prevent browning)
- 1 1/2 cups heavy whipping cream (very cold)
- 3 tbsp powdered sugar
- 1 tsp pure vanilla extract
Instructions
- In a medium heavy-bottomed saucepan, whisk together the sugar, flour, and salt until combined.
- In a separate bowl, whisk the egg yolks with 1/2 cup of the whole milk until smooth. Set aside.
- Pour the remaining 2 1/2 cups of milk into the saucepan with the dry ingredients and whisk to combine. Cook over medium heat, stirring constantly, until the mixture begins to steam and is very warm but not yet boiling, about 5-7 minutes.
- Temper the eggs: Very slowly ladle about 1 cup of the hot milk mixture into the egg yolk mixture, whisking constantly and vigorously as you pour. Add another ladle and whisk again. This gradually raises the temperature of the eggs without scrambling them.
- Pour the tempered egg mixture back into the saucepan with the remaining hot milk. Cook over medium heat, whisking constantly, until the custard thickens and large bubbles begin to pop at the surface, about 3-5 more minutes. The custard should coat the back of a spoon.
- Remove from heat. Whisk in the butter cubes one at a time until fully melted and incorporated, then whisk in the vanilla extract.
- Pour the hot custard through a fine mesh strainer into a clean bowl to catch any lumps. Press a piece of plastic wrap directly onto the surface of the custard (to prevent a skin from forming) and let cool at room temperature for 30 minutes, then refrigerate for at least 1 hour until completely chilled.
- Slice the bananas into 1/4-inch rounds. Place in a bowl and gently toss with the lemon juice to prevent browning. Set aside.
- In a large chilled bowl (or the bowl of a stand mixer), beat the cold heavy cream, powdered sugar, and vanilla extract on medium-high speed until medium-to-firm peaks form, about 3-4 minutes. Do not overbeat. Refrigerate until ready to use.
- Choose a large trifle bowl, 9×13-inch baking dish, or deep serving bowl. Begin with a thin layer of custard spread across the bottom of the dish.
- Add a single layer of vanilla wafers over the custard, covering as much of the surface as possible.
- Add a layer of banana slices over the wafers, covering evenly.
- Spoon a generous layer of chilled custard over the bananas and spread evenly.
- Repeat the layers — wafers, bananas, custard — until all ingredients are used, finishing with a custard layer on top. You should have approximately 3 full layers.
- Spread the whipped cream over the top layer of custard in an even, generous layer. If desired, crush a handful of vanilla wafers and sprinkle over the whipped cream as garnish.
- Cover tightly with plastic wrap and refrigerate for a minimum of 4 hours, or ideally overnight, before serving. The wafers will soften beautifully into the custard during this time.
