

The Scoop on Summer’s Most Perfect Treat
There is a particular kind of summer magic that only happens when a bowl of real, homemade vanilla ice cream melts slowly at the edges on a hot afternoon. Not the kind from a cardboard carton that tastes faintly of artificial sweetness and freezer burn — but the kind made with whole ingredients you actually recognize, churned low and slow into something gloriously creamy and deeply fragrant with real vanilla. This is that recipe. And once you make it yourself, I promise you will never look at store-bought the same way again.
At Eating Happiness, we talk a lot about balance — about nourishing your body with clean, whole foods most of the time so that when a truly special treat comes along, you can savor it without a second thought. Homemade vanilla ice cream is exactly that kind of treat. Made with quality dairy, real egg yolks, and honest-to-goodness vanilla, this is an indulgence you can feel genuinely good about. You know every single ingredient going into it. There are no stabilizers, no artificial flavors, no mystery additives — just rich, pure, joyful food the way it was always meant to be made.
This recipe is built on a classic French-style custard base — sometimes called a crème anglaise — which is the secret behind that ultra-rich, almost silky texture that separates truly great ice cream from everything else. It takes a little patience, a little technique, and a whole lot of reward. Whether you’re serving it alongside a warm slice of Peach Cobbler or piling it onto a golden round of Strawberry Shortcake, this vanilla ice cream is the summer companion your dessert table has been waiting for.
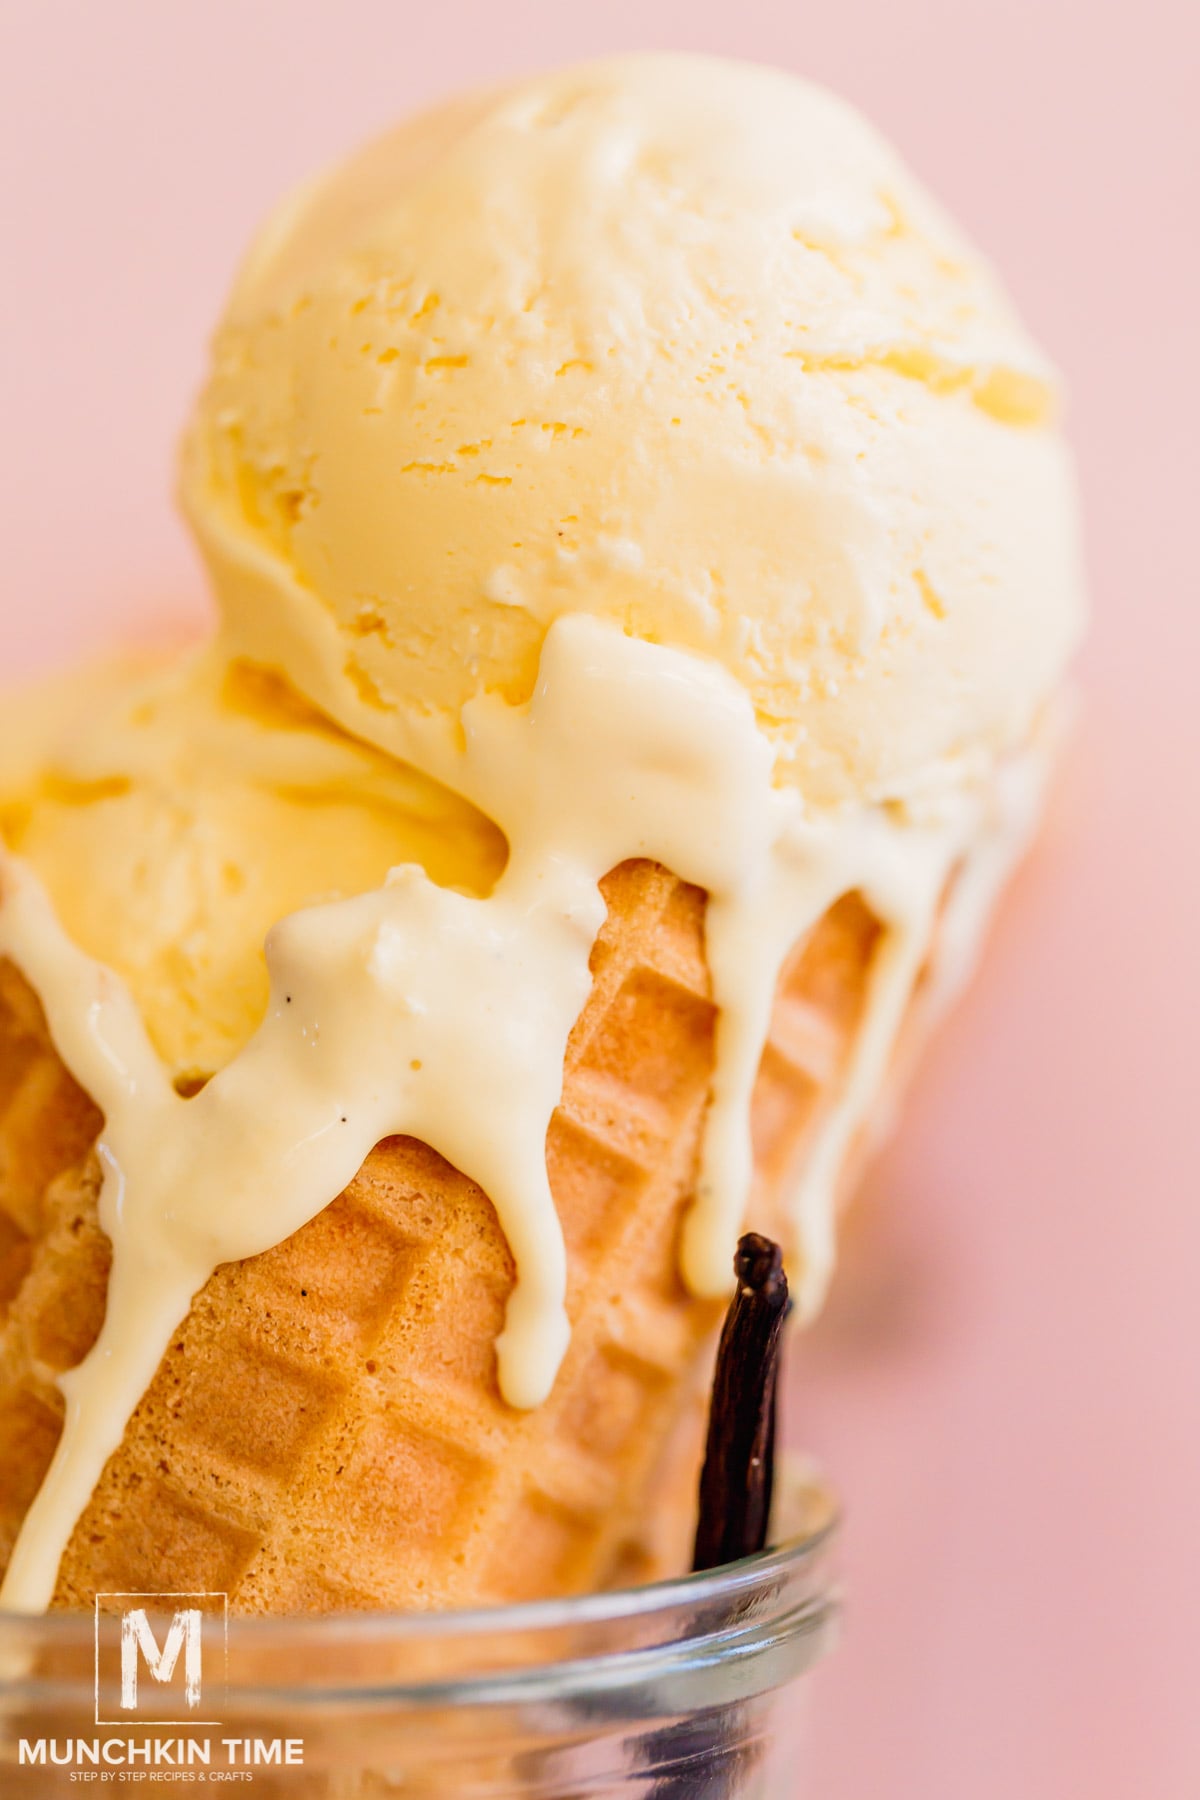
Why You’ll Love This Recipe
- Clean, recognizable ingredients: Every component is something you can feel good about — whole milk, heavy cream, real egg yolks, cane sugar, and pure vanilla. That’s it.
- Unbeatable texture: The custard base means this ice cream is genuinely creamy and scoopable straight from the freezer — no icy, grainy disappointment here.
- Endlessly versatile: Use it as a base for mix-ins, serve it alongside warm fruit desserts, or let it shine completely on its own in a bowl.
- A worth-it summer ritual: Making homemade ice cream is one of those slow, intentional kitchen moments that feels like self-care in the best way.
- Customizable to your needs: Easily adjusted for sweetness, richness, or flavor — vanilla bean, vanilla extract, or a combination of both all work beautifully.
- Better than store-bought, always: Once you taste the difference real ingredients make, you’ll understand why this recipe earns a permanent spot in your summer rotation.
Key Ingredients That Make This Ice Cream Special
The beauty of homemade vanilla ice cream is that its ingredient list is short — which means every single component carries serious weight. Heavy cream is the non-negotiable backbone of this recipe. It provides the fat content needed for that signature smooth, scoopable texture, and prevents the ice crystals from taking over during freezing. Skimp on it and you’ll notice immediately — so use the real thing, full-fat and fresh. Paired with whole milk, which lightens the base just enough to keep it from feeling heavy, you get a ratio that is both indulgent and perfectly balanced.
Egg yolks are the soul of a French-style custard base. They emulsify the fat and liquid together, creating that luscious, velvety body that sets this ice cream apart from no-churn or eggless versions. Four to six yolks whisked with sugar and tempered slowly into warm cream — that’s the move, and it makes all the difference. Speaking of sugar, pure cane sugar dissolves evenly into the custard and keeps the texture from becoming too firm in the freezer. Finally, and perhaps most importantly: real vanilla. Whether you use a plump, fragrant vanilla bean scraped fresh or a high-quality pure vanilla extract (or both — highly recommended), this is the flavor carrying the entire recipe. Serious Eats has an excellent breakdown of vanilla types and their impact on frozen desserts if you want to go deep on the flavor science. The takeaway: never use imitation vanilla here. This is a recipe that has nowhere to hide, and real vanilla is worth every penny.
Pro Tips & Variations
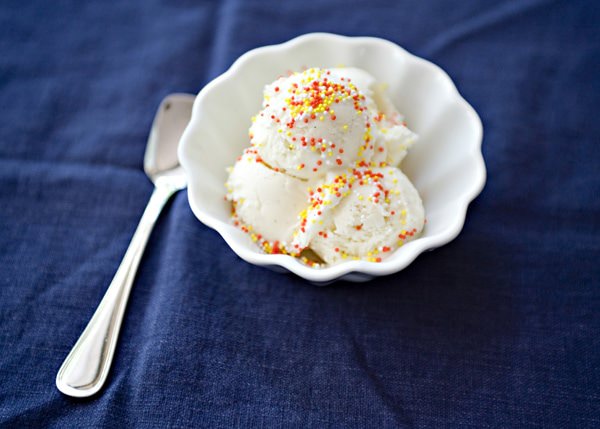
Making homemade ice cream is a skill that rewards attention to a few key details. Here are the tips that will take your batch from good to absolutely stunning:
Temper your eggs slowly — this is the most important step
Tempering means gradually raising the temperature of your egg yolks before adding them to the hot cream mixture. If you rush this step and pour hot liquid directly onto cold yolks, you’ll end up with scrambled eggs in your ice cream base — a heartbreaking outcome. Add the hot cream just a tablespoon at a time to the yolks at first, whisking constantly, until the yolks are warm enough to join the pot safely. Patience here pays off in a silky-smooth custard every time.
Chill your base completely before churning
This is non-negotiable. Your custard base needs to be thoroughly chilled — ideally overnight in the refrigerator — before it goes into the ice cream maker. A warm base will take longer to freeze and can result in larger ice crystals and a grainier texture. Set it over an ice bath after cooking, then transfer to the fridge. The colder the better.
Don’t skip the freeze time after churning
After churning, your ice cream will have the texture of a very thick soft-serve. Resist the urge to serve it immediately (though honestly, soft-serve straight from the machine is its own beautiful experience). Transfer to a loaf pan or airtight container and freeze for at least 2–4 hours for proper scoopable consistency. Bon Appétit’s guide to homemade ice cream recommends pressing plastic wrap directly against the surface before sealing to prevent freezer burn — a small step that makes a real difference.
Flavor Variations to Try
- Brown Butter Vanilla: Brown your butter before adding to the base for a nutty, caramel-like depth that takes vanilla to another level.
- Honey Vanilla: Replace half the sugar with raw wildflower honey for a floral, complex sweetness.
- Coconut Vanilla: Swap the whole milk for full-fat coconut milk for a dairy-free adjacent twist with tropical undertones.
- Vanilla Bean Swirl: Fold in a simple homemade berry jam swirl just before the final freeze — pair it with a scoop alongside a slice of Blueberry Pie for a truly unforgettable summer dessert moment.
- Salted Caramel Ripple: Drizzle in a homemade salted caramel during the last minute of churning. The contrast with the pure vanilla base is outstanding.
Equipment Notes
You’ll want a dedicated ice cream maker for best results — either a canister-style (freeze the bowl 24 hours ahead) or a compressor model (no pre-freezing required). A fine-mesh strainer is essential for catching any bits of cooked egg from the custard. A digital instant-read thermometer takes the guesswork out of knowing when your custard is done — you’re looking for 170–175°F.
Nutritional Highlights
Homemade vanilla ice cream is, deliciously, an indulgent treat — and we embrace that fully here. What makes the homemade version a smarter choice from a wellness perspective is everything it doesn’t contain: no artificial flavors, no high-fructose corn syrup, no gums or stabilizers, no preservatives. What it does contain are real nutrients from quality ingredients. Egg yolks are a natural source of choline, fat-soluble vitamins A, D, E, and K, and healthy dietary fat. Whole dairy cream and milk provide calcium, phosphorus, and fat-soluble nutrients that your body is well-equipped to absorb. The sugar content is meaningful — this is a dessert, not a health food — but because you’re controlling the amount of cane sugar going in, you can adjust to your taste and needs. A single serving clocks in around 320–380 calories depending on portion size, which is genuinely reasonable for a homemade frozen custard of this quality. Enjoy it slowly, savor every bite, and pair it with fresh summer fruit to round out the experience. That’s the Eating Happiness approach to treats: real food, real joy, no guilt.
Frequently Asked Questions
Do I need an ice cream maker to make this recipe?
An ice cream maker is strongly recommended for this particular recipe because the churning process is what incorporates air into the custard and creates that smooth, creamy, scoopable texture we’re going for. Without it, the custard base will freeze into a dense, hard block rather than the light, airy ice cream you’re imagining. That said, there is a popular no-churn method that uses sweetened condensed milk and whipped heavy cream — it won’t have the same depth or custard richness as this recipe, but it’s a solid option if you’re working without equipment. For this churned custard base, however, an ice cream machine is the right tool for the job. Countertop models are widely available and not expensive — it’s a worthwhile investment for a summer full of homemade frozen treats.
Can I make the custard base ahead of time?
Absolutely — and in fact, making the custard base a day ahead is actually encouraged. After cooking the custard to temperature and straining it, let it cool over an ice bath, then cover and refrigerate overnight. A fully chilled base (36–40°F) will churn faster, more efficiently, and produce a creamier final texture than a base that’s only partially cooled. You can keep the unchurned custard base refrigerated for up to 2 days before churning. This makes it a fantastic make-ahead component if you’re planning a summer gathering — prepare the base the night before and churn fresh the day of your event.
How do I store homemade vanilla ice cream and how long will it keep?
Once churned and frozen solid, homemade vanilla ice cream keeps beautifully in the freezer for up to 2 weeks — though in our experience, it rarely lasts that long. Store it in an airtight container (a lidded loaf pan works perfectly) and press a layer of plastic wrap or parchment directly against the surface of the ice cream before sealing. This prevents freezer burn and the formation of ice crystals on the surface. Because homemade ice cream doesn’t contain the commercial stabilizers found in store-bought varieties, it may freeze harder over time. If this happens, simply set the container on the counter for 5–8 minutes before scooping — it will soften up beautifully. Avoid repeated thawing and refreezing, as this degrades both texture and flavor.
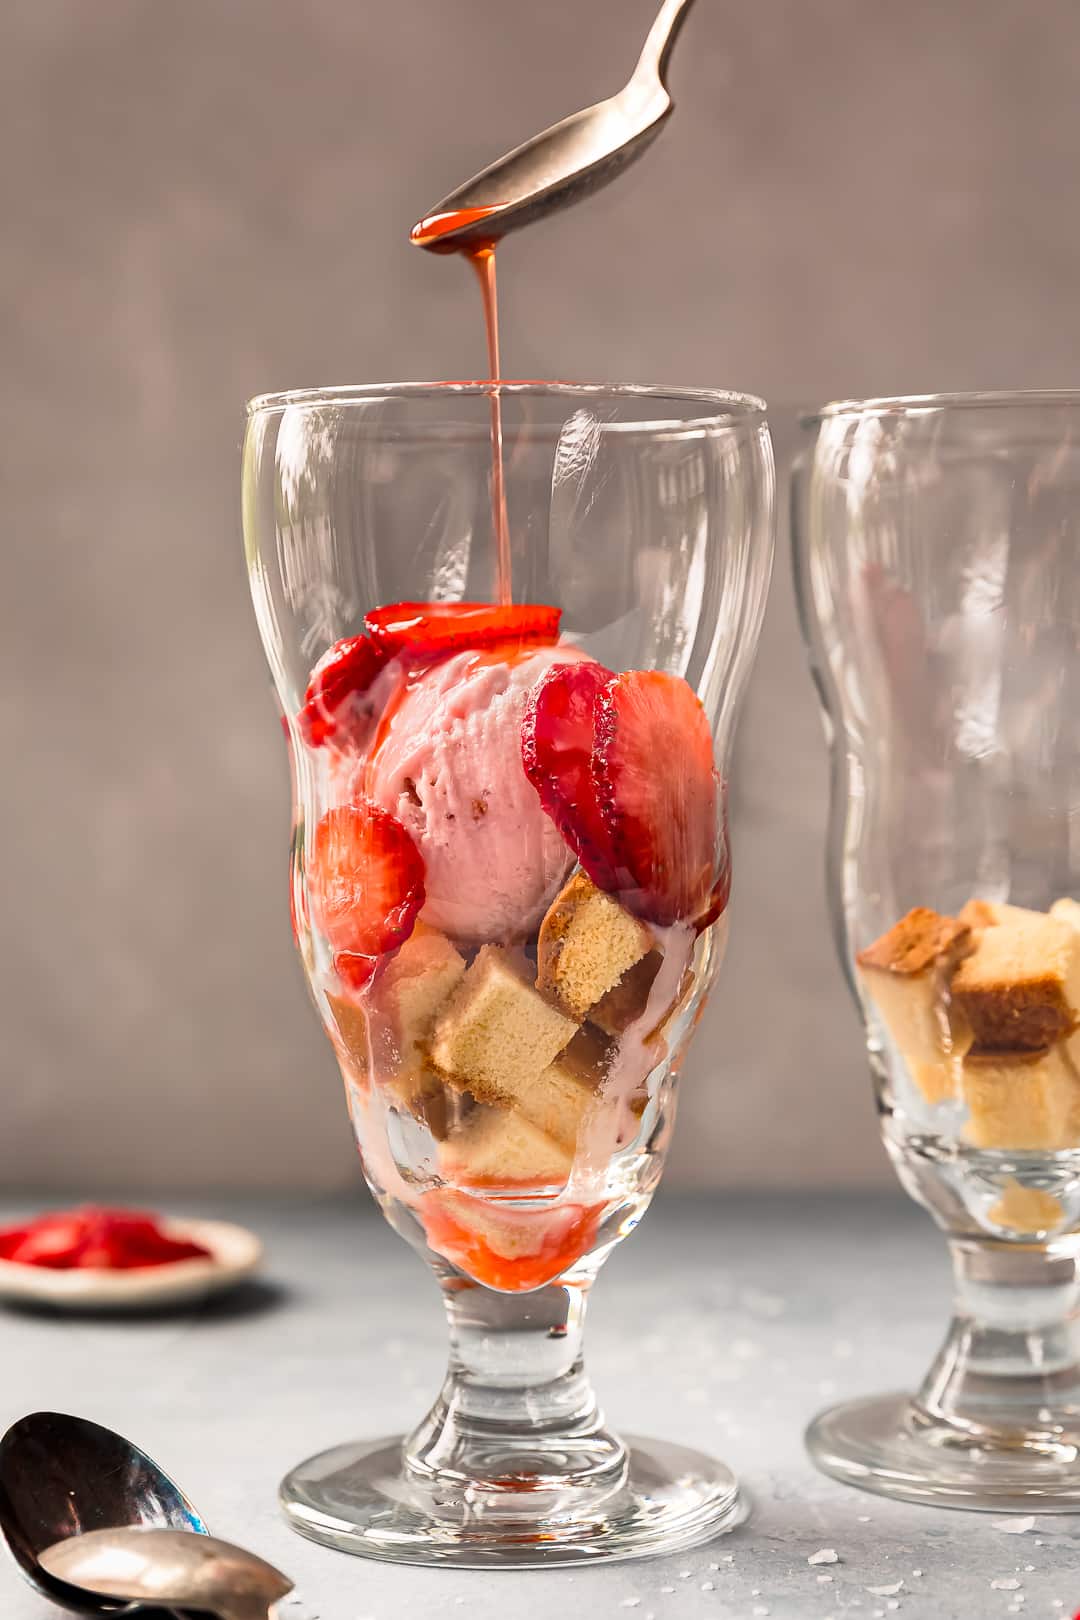
Make It, Share It, Save It
Homemade vanilla ice cream is one of those recipes that sounds impressive but is completely within reach for any home cook willing to slow down and enjoy the process. From the moment you split open a vanilla bean and watch those tiny seeds tumble into warm cream, to the first scoop you pull from a perfectly set, deeply fragrant batch — this recipe is a love letter to summer and to the belief that real food made with care is always worth it. Whether it’s the star of the table or the supporting actor alongside a warm fruit dessert, this churned custard base will be the recipe your people ask about all season long.
If you make this Homemade Vanilla Ice Cream, we’d absolutely love to hear about it. Leave a comment below with your experience, snap a photo and tag us on Instagram, or save this recipe to your Pinterest boards so it’s ready for your next summer gathering. Sharing recipes like this one is how we build a community around eating well — and eating happily.
Find the complete recipe card below ↓
Homemade Vanilla Ice Cream
Ingredients
- 2 cups heavy cream full-fat, cold
- 1 cup whole milk cold
- 3/4 cup pure cane sugar divided
- 5 large egg yolks room temperature
- 1 vanilla bean split lengthwise and seeds scraped
- 1 tsp pure vanilla extract high-quality
- 1/4 tsp fine sea salt

Instructions
- In a medium heavy-bottomed saucepan, combine the heavy cream, whole milk, half the sugar (6 tablespoons), the vanilla bean pod and scraped seeds, and salt. Heat over medium heat, stirring occasionally, until the mixture just begins to steam and small bubbles form around the edges — do not boil. Remove from heat.
- In a medium bowl, whisk together the egg yolks and remaining sugar (6 tablespoons) until the mixture is pale yellow and slightly thickened, about 2 minutes.
- Temper the eggs: very slowly pour about 1/2 cup of the hot cream mixture into the yolks, one tablespoon at a time at first, whisking constantly. Once the yolks are warmed, pour in the remaining cream mixture in a slow, steady stream while continuing to whisk.
- Return the combined mixture to the saucepan. Cook over medium-low heat, stirring constantly with a wooden spoon or heat-safe spatula, until the custard thickens enough to coat the back of the spoon and reaches 170–175°F on an instant-read thermometer, about 8–10 minutes. Do not let it boil.
- Remove from heat and pour the custard through a fine-mesh strainer into a clean bowl, discarding the vanilla pod. Stir in the vanilla extract. Set the bowl over an ice bath and stir occasionally until the custard cools to room temperature.
- Cover the cooled custard with plastic wrap pressed directly against the surface and refrigerate for at least 4 hours, or overnight (strongly preferred) until thoroughly chilled to 40°F or below.
- Pour the chilled custard into your ice cream maker and churn according to the manufacturer's instructions, typically 20–25 minutes, until the ice cream reaches a thick, soft-serve consistency.
- Transfer the churned ice cream to a loaf pan or airtight container. Press plastic wrap directly against the surface and freeze for a minimum of 4 hours, or until firm and scoopable.
- Before serving, let the ice cream sit at room temperature for 5 minutes for the easiest scooping. Serve in bowls or cones and enjoy immediately.